
Choose how the tissue will be prepared
There are three practical choices: manual, femto or premade. The boxes below compare preparation and logistics; select the method that can deliver the dimensions and shape in your plan.
Premade tissue: two suppliers
Choose the tissue system together with its preparation instructions, channel geometry and planning method.
Choose the route early enough to confirm supply and practise handling. Check donor suitability, tissue traceability, expiry, storage and preparation instructions with the supplying eye bank.
Understand what each dimension does
Width × thickness gives the nominal cross-sectional area of a rectangular segment. Arc length determines how far around the cornea that tissue is distributed. Changing any of these can change the volume added and the intended flattening effect.
Thickness: 500 µm (0.5 mm)
The highlighted end shows the cross-section.
Nominal cross-sectional area for this rectangular example.
Full-thickness donor tissue varies with its location and hydration. Two manually prepared strips with the same apparent width can contain different amounts of tissue. Dr Gunn’s teaching emphasises measuring and controlling the implant dimensions so the planned tissue addition is reproducible.
Keep the donor cut diameter, the recipient channel diameter and the final implant arc length distinct in your plan. If the tissue will sit at a different diameter from where it was cut, its length and curvature need to be considered together.
Manual trephination
The Jacob double-bladed trephine creates an annular strip using two concentric cutting edges. Radial width = (outer blade diameter − inner blade diameter) ÷ 2. Lift the ring from within the trephine, divide it to the planned arc length and shape it further where required.
Some techniques turn the strip on its side for implantation. Identify the Bowman’s side and track orientation during preparation and insertion: the dimensions that become implant width and thickness depend on how the strip is placed. Select trephine size and shaping steps for the specific technique you have trained in.
The round, domed Jacob CAIRS customiser transfers planned arc length and taper transitions onto the tissue before manual shaping. Watch Soosan Jacob’s demonstration or see the trephines and customiser.
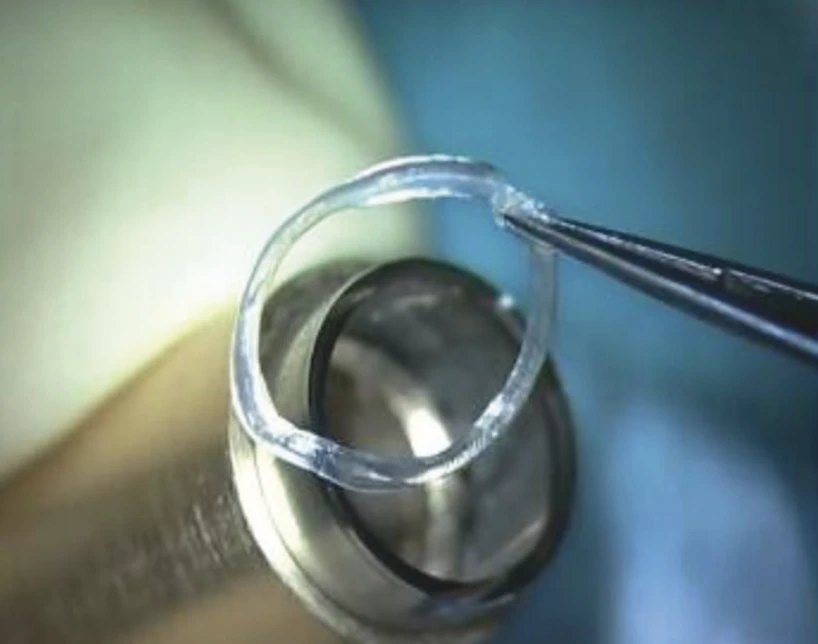
Soosan Jacob
Femtosecond cutting and customisation
Laser preparation can control donor segment thickness and width, with custom geometry where supported by the platform and software. Making a channel with a laser and cutting the implant with a laser are two separate uses of the technology.
The Brisbane planning approach adjusts tissue cross-sectional area to the corneal pattern and severity. For more asymmetric eyes, the teaching library demonstrates tapered segments and unequal paired segments to vary tissue addition along the steep region. Start with a preparation you can reproduce before moving to more complex shapes.
Handle hydration and orientation deliberately
Hydrated and dehydrated tissue handle differently. A hydrated segment is soft; controlled dehydration can make it easier to manipulate while a mould maintains the intended curve. The tissue changes dimensions as it dries and rehydrates, so the handling method must remain consistent with the preparation system.
Use sparse lines or spots on the segment to identify its orientation. The marks help you see whether it is twisted or upside down, and whether it is stretched or compressed as it advances along the tunnel. Keep the reference markings visible for the orientation you have planned.
Too much ink can stay in the channel and make it hard to see what you are doing. Use enough to recognise the markings, without loading the tissue with ink.
When using pre-prepared tissue, follow its supplied preparation instructions. Select the mould and handling tools to match your intended channel and avoid mixing the specifications of different tissue systems.
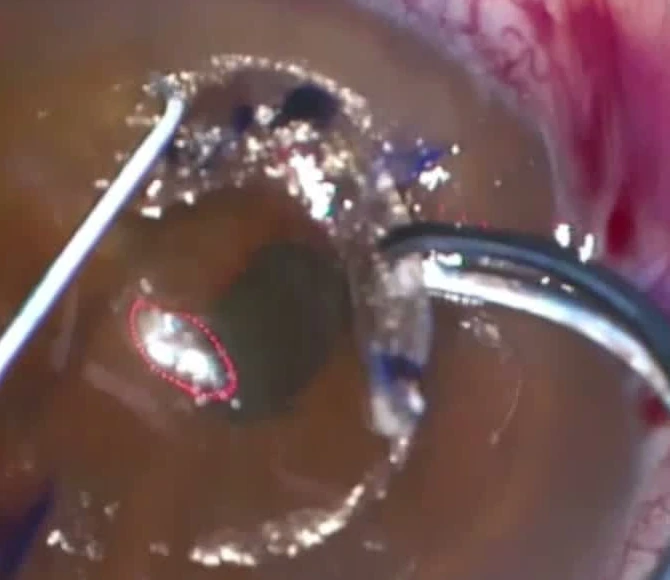
David Gunn · surgical video
Before insertion
Drying and controlled warming
Drying the tissue on a smooth, sterile plastic or metal surface, or in an Awwad mould, can be helpful. Dehydration makes the segment firmer and easier to handle; the mould can help preserve its curve.
Controlled warming can also accelerate dehydration, as described by Shady Awwad. Follow Awwad and colleagues’ published thermal dehydration protocol, including temperature control. Take care not to overheat the tissue: excess heat can damage it or cause it to become opaque.
Picking up a dry segment
Very dry tissue can adhere to fibres from a Weck-Cel spear or a drape. Place it on a smooth surface where it will not stick to or pull fibres.
A dry segment can spring or jump when grasped with forceps, much like an acrylic intracorneal ring segment. Be particularly careful at the moment of picking it up and lifting it from the surface on which it was dried.
- Confirm the intended segment or segments, dimensions and arc lengths.
- Verify orientation and any taper or asymmetry against the plan.
- Check the tissue condition and intended hydration state.
- Have the appropriate separator, pusher, puller or forceps ready.
- Keep the exported plan visible so the final positions can be checked.
Teaching and further reading
Adapted from Dr David Gunn’s teaching talks and surgical videos, with published techniques and supplier preparation guidance.
- Gunn, Cox & Cronin — Femtosecond Laser Created Corneal Allogenic Intrastromal Ring Segments for Keratoconus (2026)
- Jacob and colleagues — customised CAIRS for a decentered asymmetric cone
- Madhu Instruments — Jacob CAIRS trephine
- KeraNatural — prepared sterile donor rings and arcs
- KeraNatural — graft dimensions, preparation and instrument guide
- LWVI — OptiGraft laser-prepared CAIRS
- Awwad and colleagues — controlled thermal dehydration to facilitate implantation